By Brant — DIY Home Repair Guy
⏱ Quick read: ~5 minutes · 🎥 Or watch the step-by-step video below.
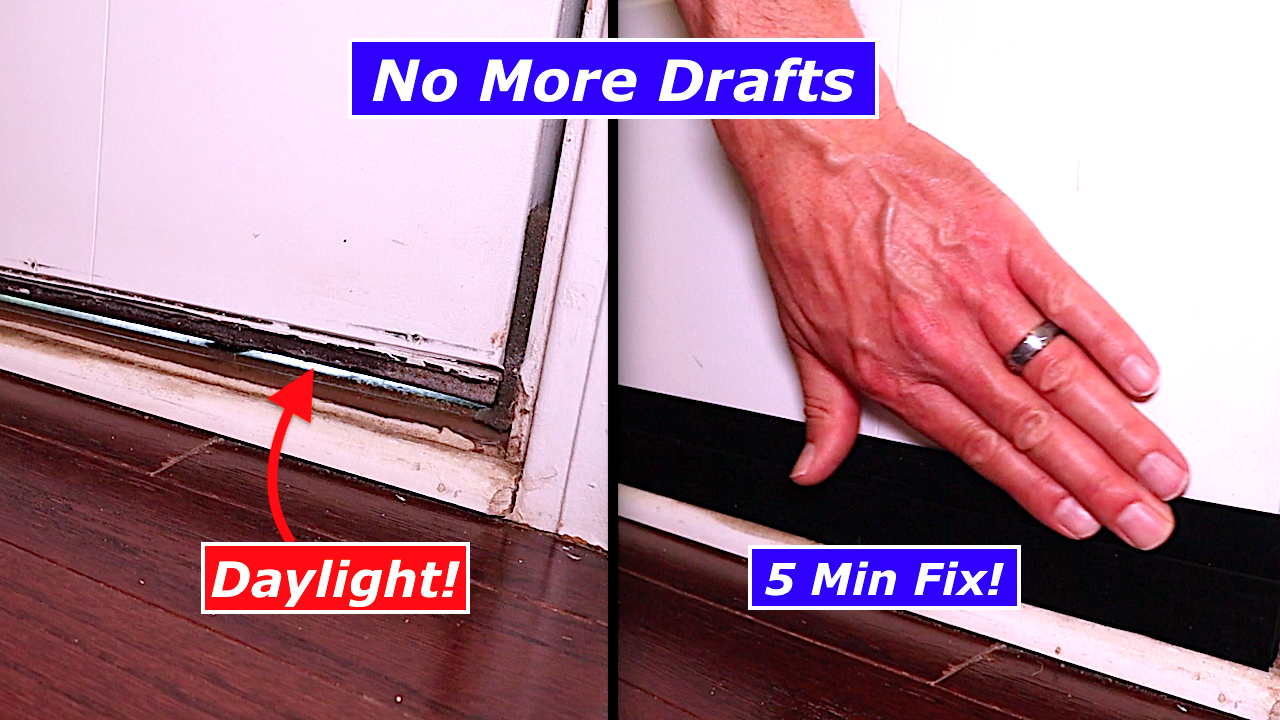
If you can see daylight under your front door, you’re losing conditioned air and letting bugs in. This is actually one of the easiest things to fix gap under front door — and it’s one of the most common (and overlooked) sources of air leaks in homes.
When I checked my own front door, the gap was obvious. My air conditioning was escaping in the summer, my heat was leaking out in the winter, and insects had an easy path inside. The fix turned out to be surprisingly simple: an adhesive door draft seal installed in under five minutes with no special tools.
Here’s exactly how to fix the gap under your front door and stop drafts for good.
🎥 Watch the full step-by-step install here:
Why You Should Fix Gap Under Front Door
A gap under the front door is one of the biggest contributors to air leaks in many houses. Even a small opening lets cold air in during winter and pushes expensive conditioned air out in summer. It also gives bugs a direct route inside.
Sealing air leaks around exterior doors is one of the simplest and most cost-effective ways to improve home efficiency. According to ENERGY STAR, installing weather stripping on doors is a quick fix that can help reduce energy waste and improve comfort.
Fixing the gap under your front door improves home comfort, helps lower energy bills, and makes the whole house feel tighter — all with a very inexpensive and easy DIY project.
Tools and Materials You’ll Need
- Adhesive door draft seal / door sweep [Amazon affiliate link]
- Isopropyl alcohol (rubbing alcohol)
- Clean cloth or paper towels
- Scissors or razor knife
- Optional: Measuring tape
Step 1: Check for Daylight and Drafts Under the Door
Wait until the sun is up and is shining on the outside of your door. Look along the bottom from the inside. If you see light coming through or feel air movement when the door is closed, you have the same issue I did.
The gap was very obvious on my door. Your’s might not be, so look close.
This quick visual check is the fastest way to confirm you need a door draft seal.
Step 2: Clean the Bottom of the Door (Most Important Step)
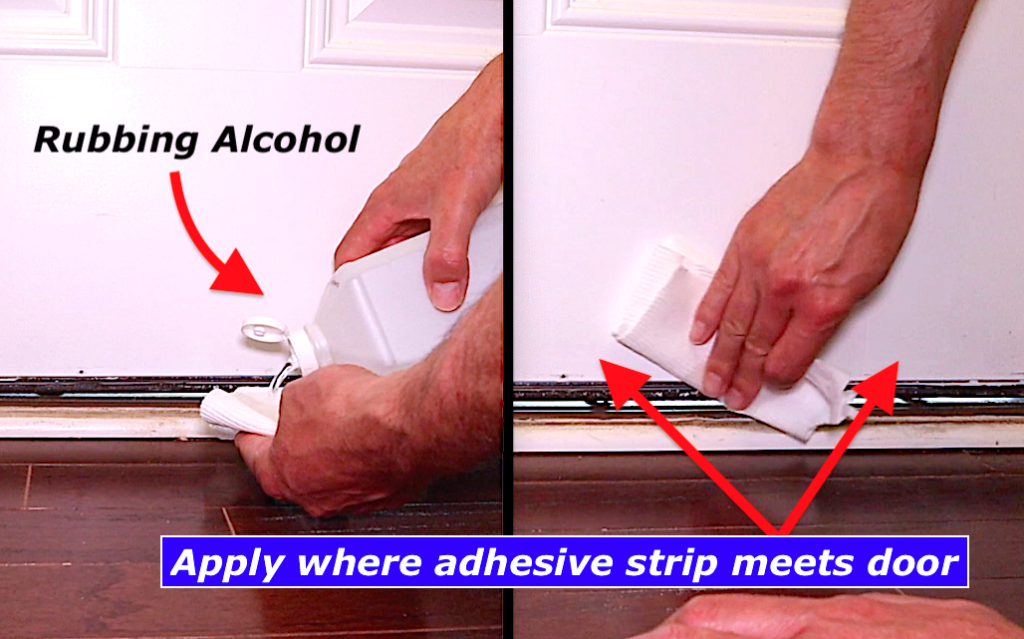
The adhesive on these seals only works well on a clean, dry surface.
Wipe the entire bottom edge of the door thoroughly with isopropyl alcohol. Remove all dirt, dust, and old residue. Then let it dry completely before proceeding.
DIY Tip: Don’t rush this step. Poor surface prep is the #1 reason adhesive door seals fail over time.
Step 3: Measure and Cut the Draft Seal
Hold the seal up to the door and cut it to length. I recommend cutting it slightly long — you can always trim it later, but you can’t add length back.
Scissors or a razor knife both work fine. The material is easy to cut.
Step 4: Position and Install the Adhesive Door Draft Seal
Peel off the backing and carefully line up the seal on the bottom of the door. The most important part is making sure the flexible bottom edge touches the threshold or molding all the way across so no air can sneak underneath.
Once positioned correctly, press it firmly into place. These seals grab quickly, so take your time getting the alignment right.
Step 5: Trim Excess and Do a Final Press
Trim any overhang on the ends if needed. Then go back over the full length with firm hand pressure to ensure strong adhesion.
Fix Gap Under Front Door – Before and After Results
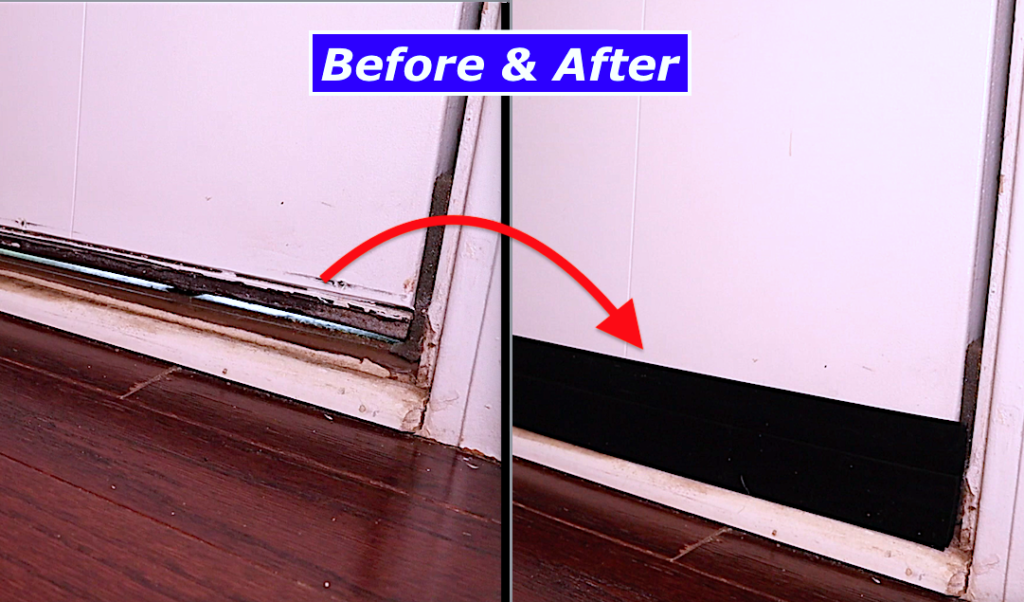
- Before: Visible daylight and noticeable drafts under the door.
- After: No light showing through, much tighter seal, and better temperature control.
The seal I used has a built-in air chamber along the bottom, which adds a little extra insulation, which boosts efficiency (link above).
Common Mistakes to Avoid When Installing a Door Draft Seal
- Skipping or rushing the cleaning step
- Sticking the seal on while the door is still damp
- Positioning it too high so it doesn’t fully contact the floor/threshold
- Not pressing down firmly after installation
Frequently Asked Questions
You can easily fix a gap under your front door with an adhesive door draft seal. Just clean the bottom of the door thoroughly with rubbing alcohol, cut the seal to length, and peel-and-stick it in place. The whole job takes under 5 minutes and requires no special tools.
Yes. A good quality adhesive door draft seal that fully contacts the threshold creates a physical barrier that stops most insects as well as drafts and air leaks.
If you properly clean the door surface with rubbing alcohol before installing it, a quality adhesive draft seal typically lasts several years. The adhesive is the weak point, so good surface prep is critical for long-term hold.
Most adhesive door draft seals can handle gaps up to about 1 inch. For larger or very uneven gaps, look for a thicker seal with a built-in air chamber or a brush-style door sweep. Measure your gap first so you buy the right size.
Yes. The gap under exterior doors is one of the most common sources of air leakage. Sealing it helps keep conditioned air inside, reduces drafts, and can lower your heating and cooling costs over time.
Replacing the original door sweep (the kind that attaches underneath the door) is harder, less DIY-friendly, and usually requires removing the door or working in a tight space. An adhesive draft seal is much easier — it installs in minutes without taking the door off and often handles larger gaps better than the factory seal.
Final Thoughts
Fixing the gap under your front door with an adhesive door draft seal is one of the fastest, cheapest home efficiency wins you can do. It took me less than five minutes, cost about $10, and immediately stopped conditioned air from leaking out while keeping bugs outside.
If your front door has the same issue, this is worth doing this week.
Have you noticed drafts or bugs coming under your doors? Drop a comment below and let me know — I’d love to hear about your experience or any questions you have.
Thanks for reading. God bless.
Brant
Affiliate note: As an Amazon Associate I earn from qualifying purchases. Links above may earn me a small commission at no extra cost to you. Thank you for supporting the site and channel!
Ready to read another post? Watch me replace the springs on my Wayne Dalton garage door. Find it here.
Leave a Reply